How Experimentation with Mixed Light Transformed This EditoriaI 🌻

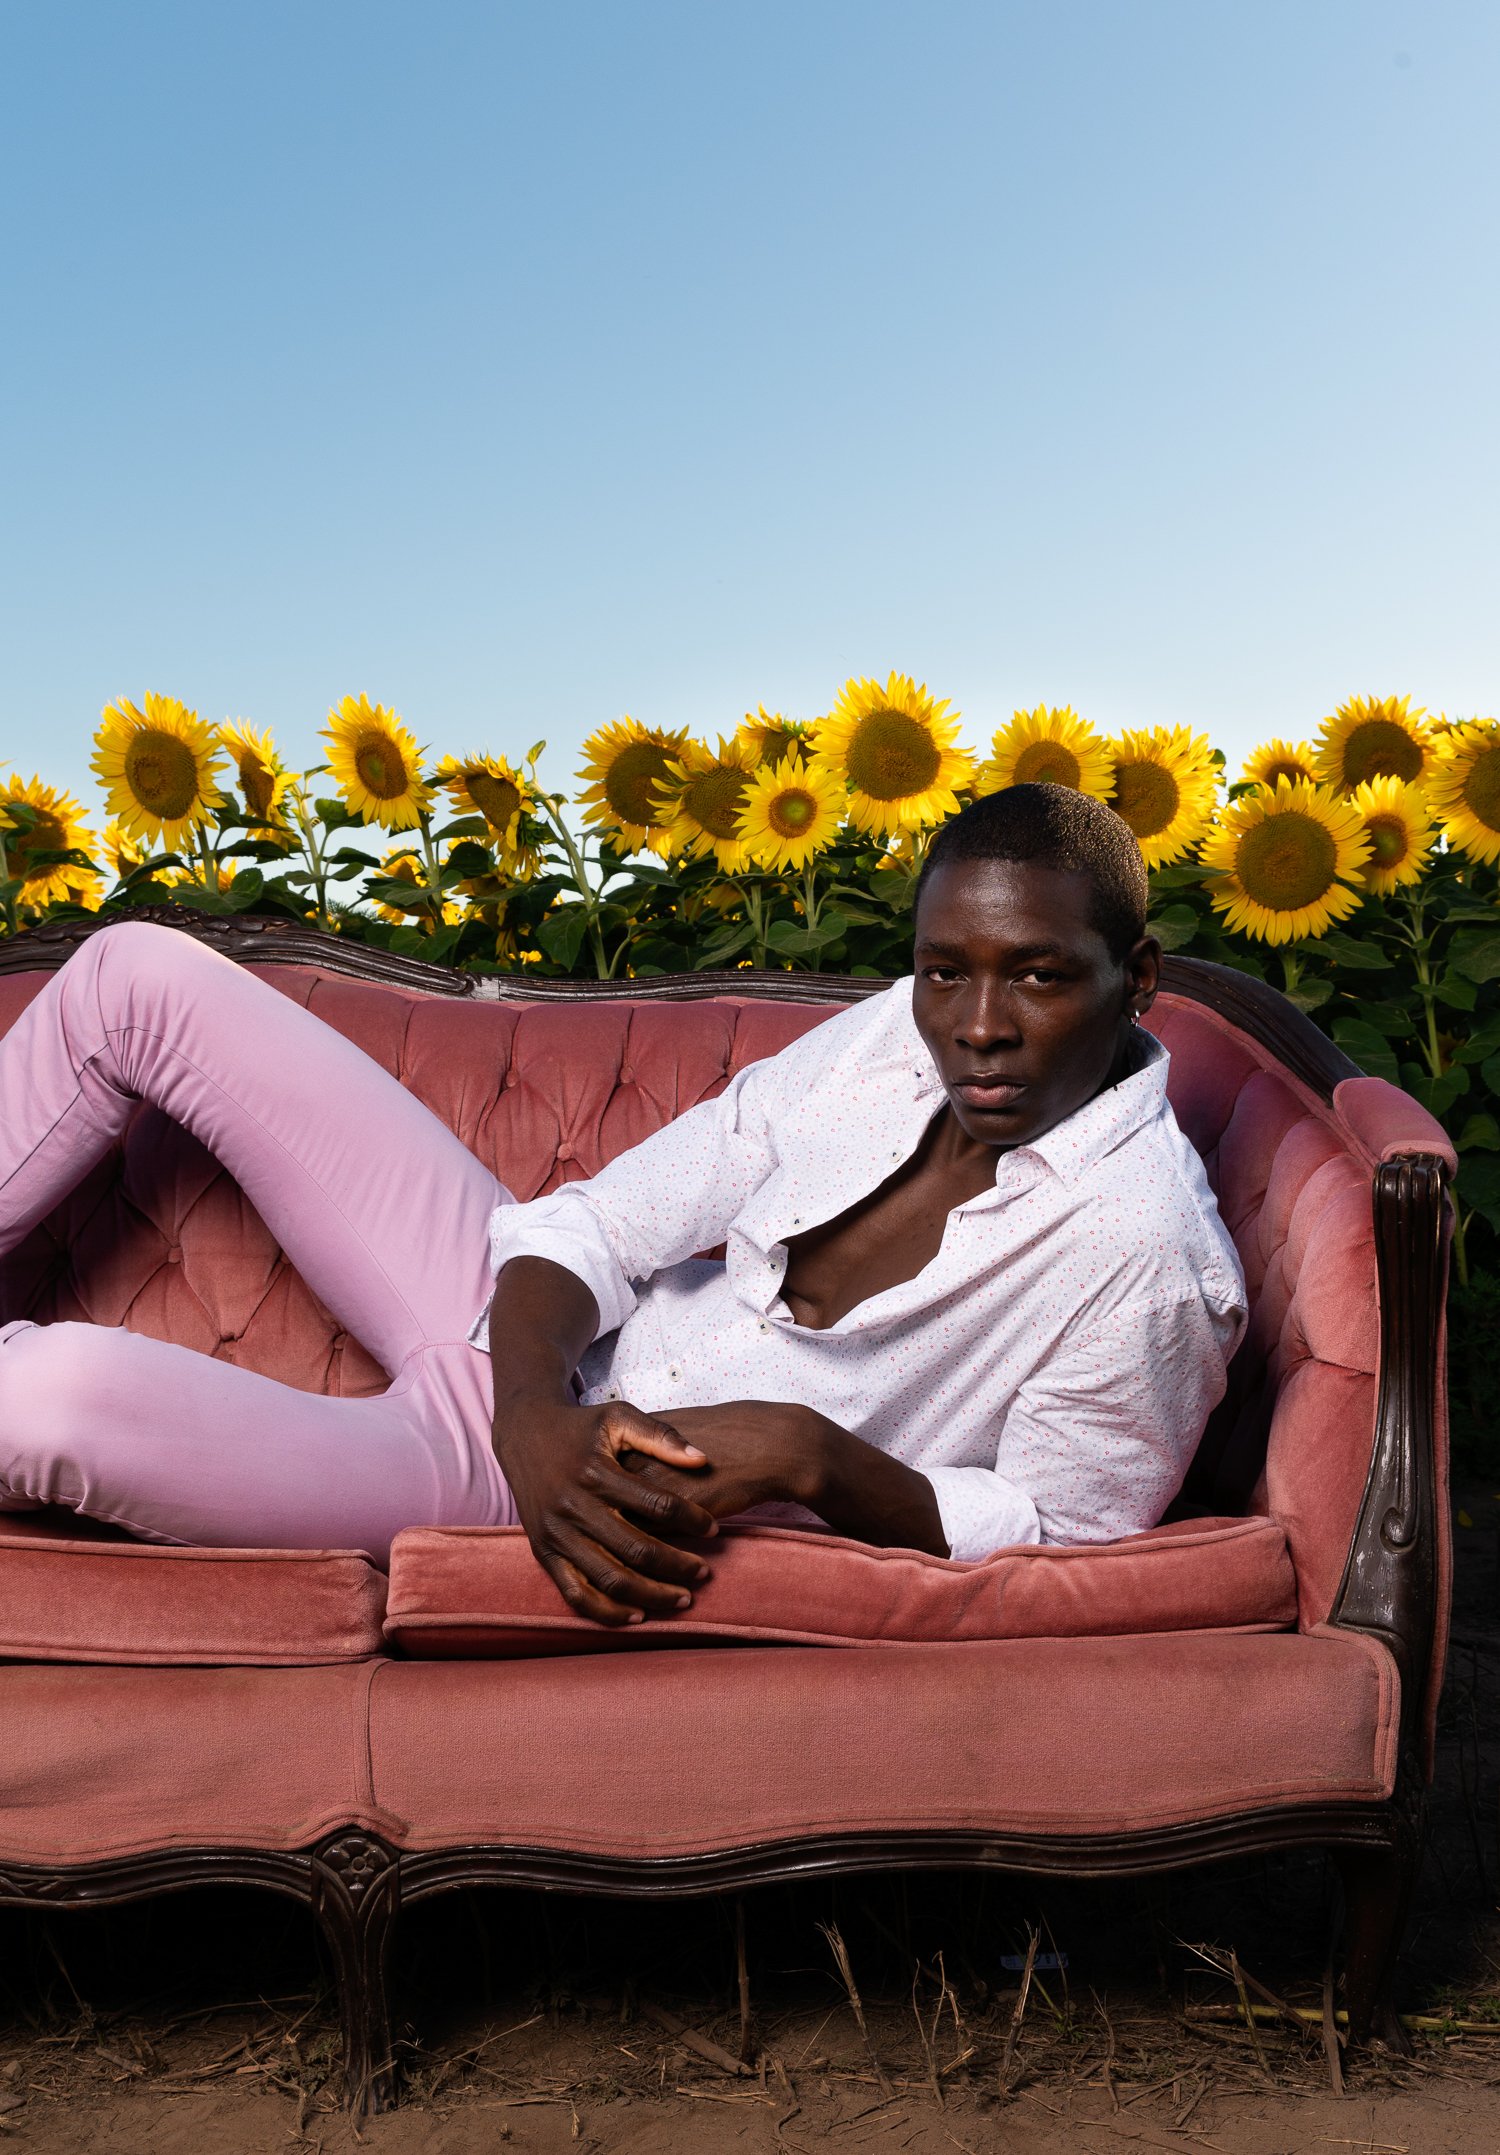
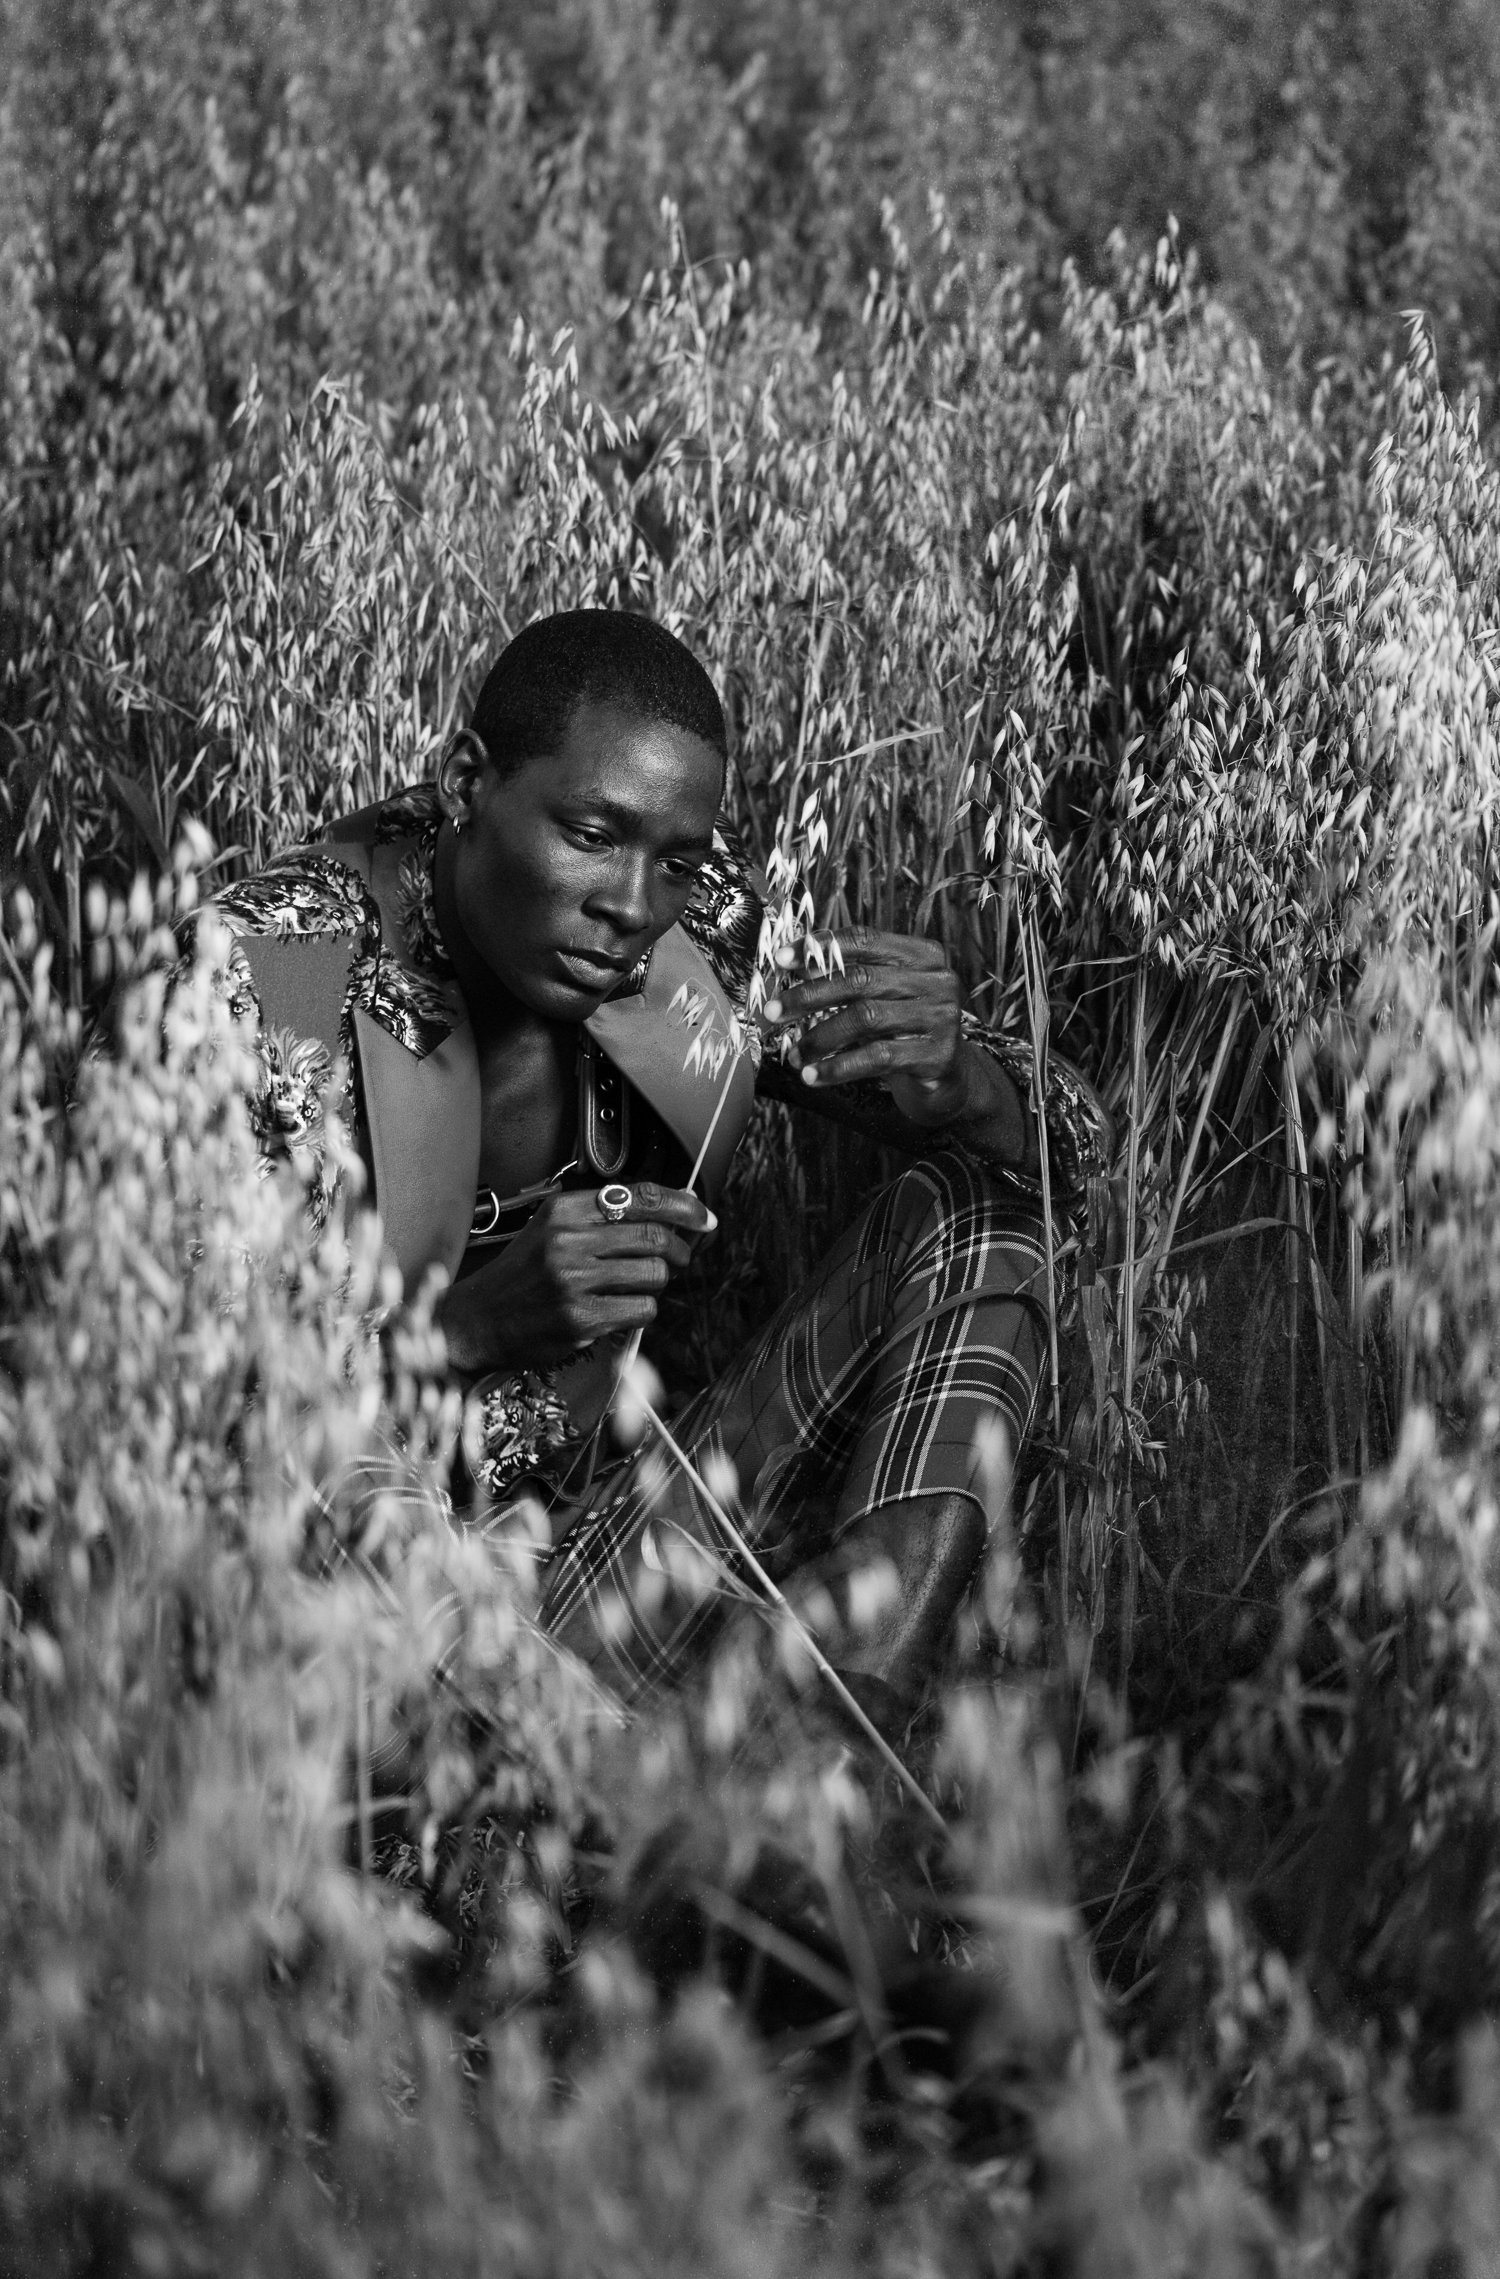
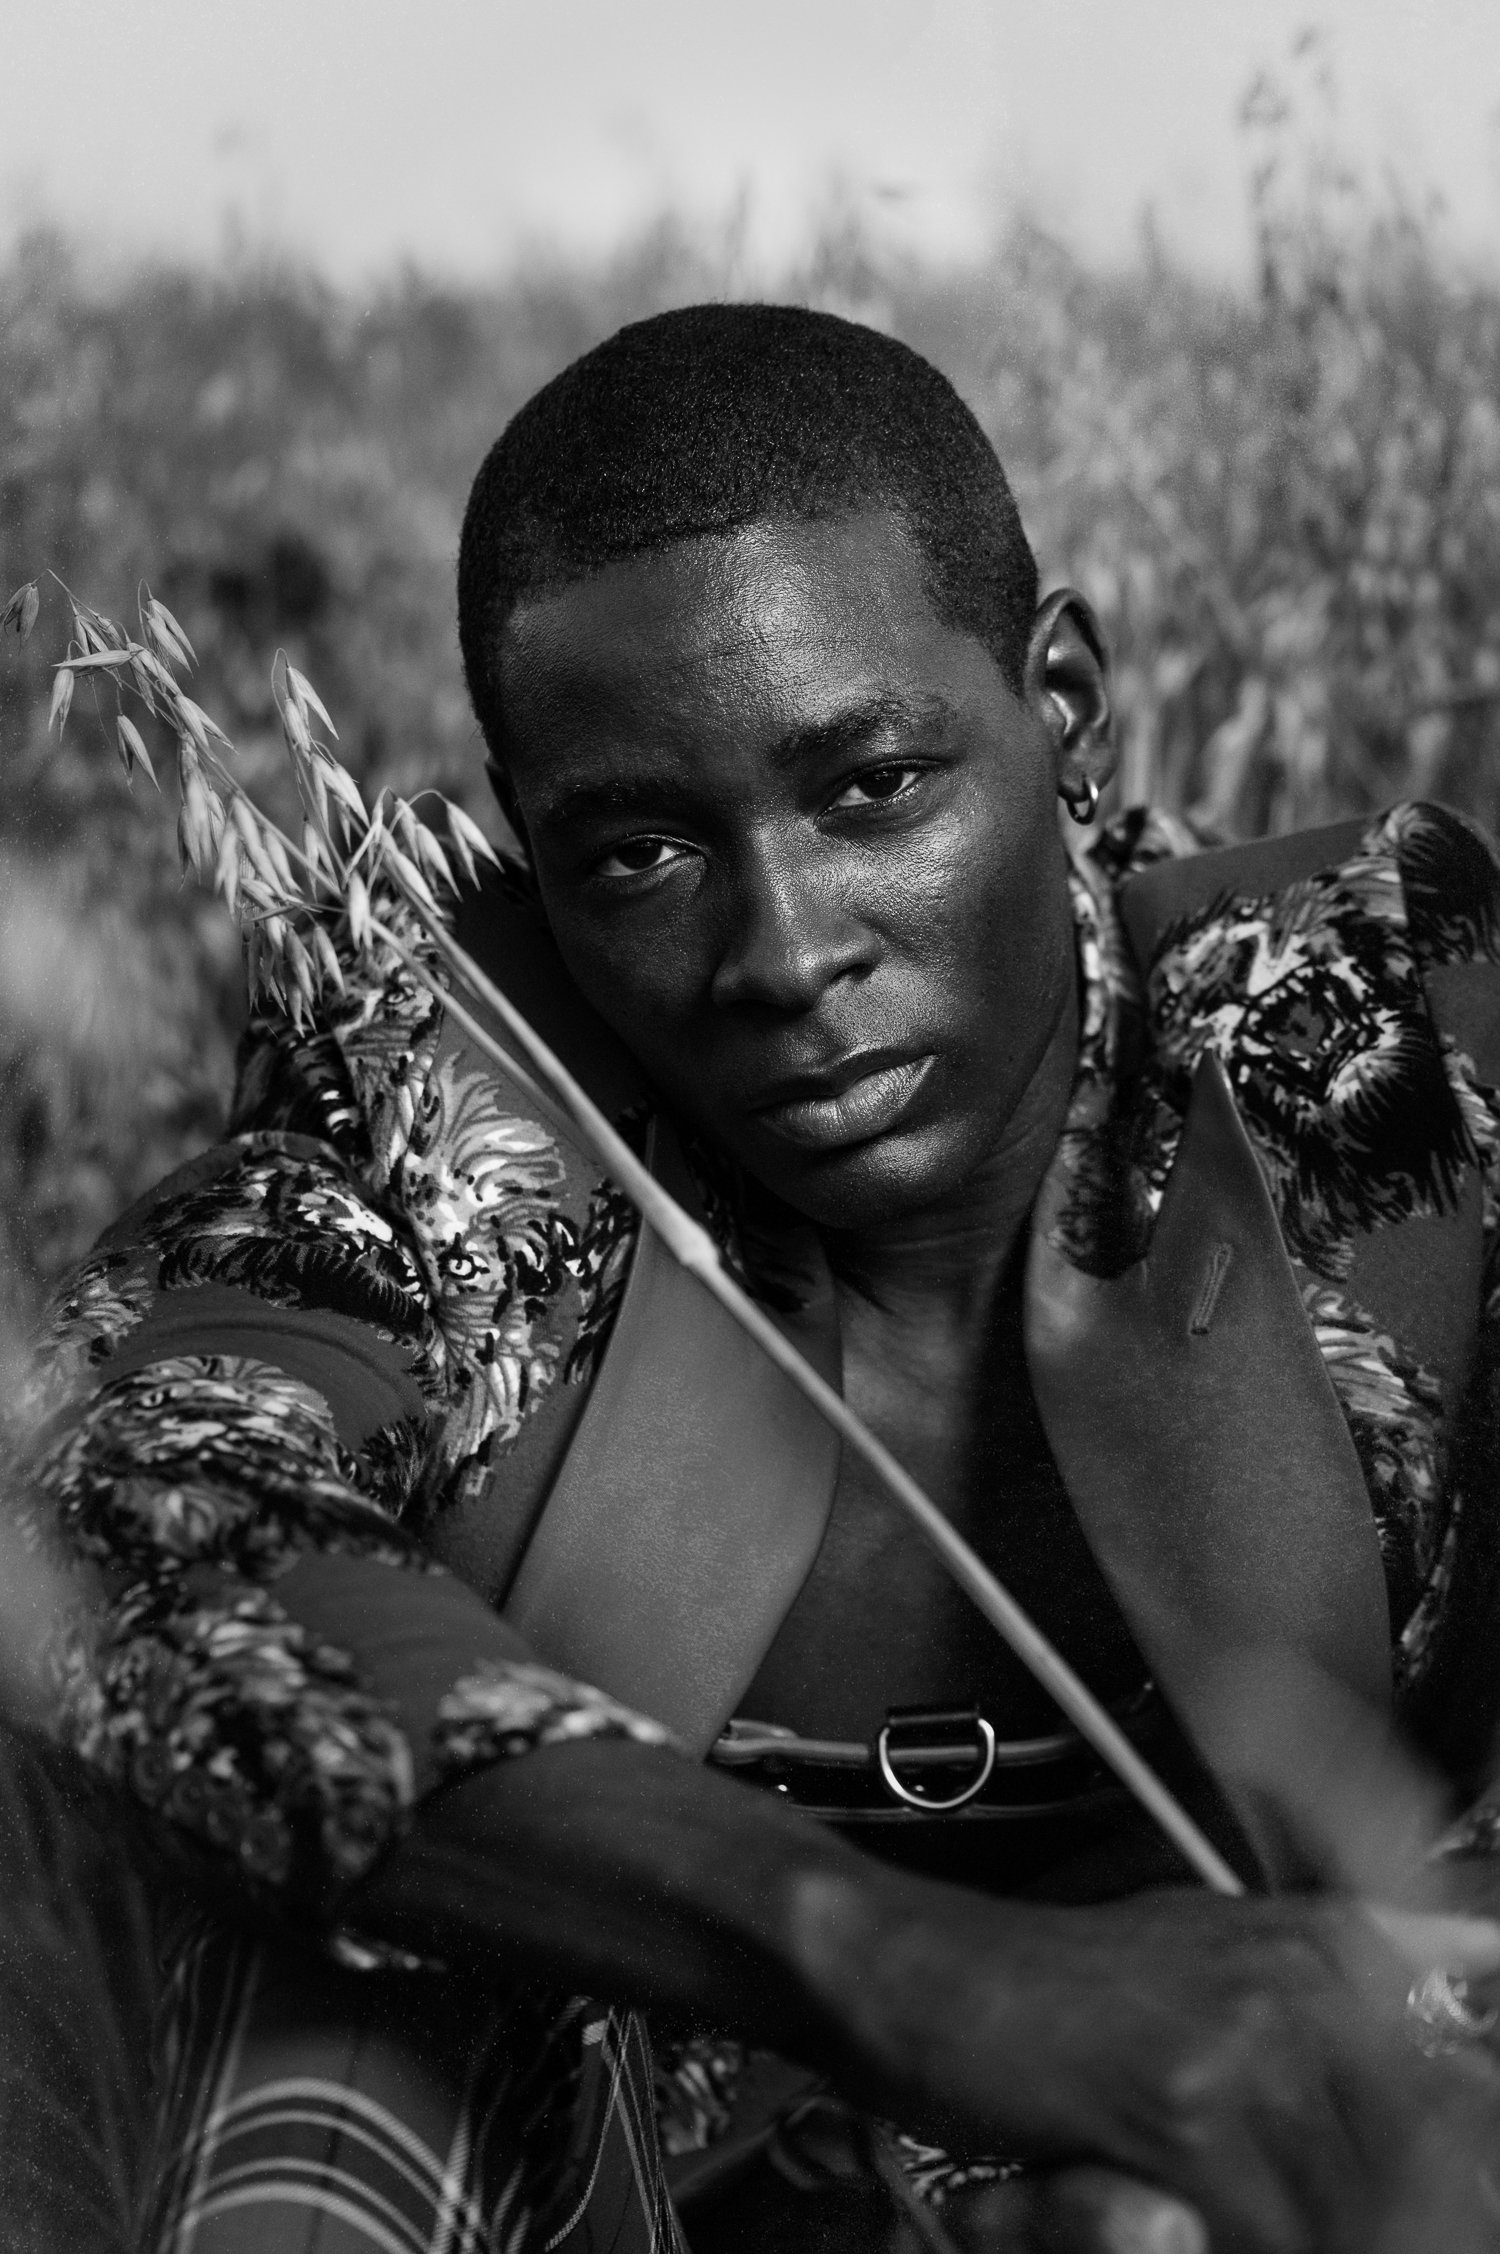
This farm-themed fashion session with Dami began as an early-evening stills shoot and seamlessly evolved into a short fashion film as we chased golden hour light. The interplay of fluid movement, shifting illumination, and thoughtful styling produced several published images, while my husband Hasani’s behind-the-scenes footage captured each look, pose, and the environment’s organic textures. I wove those clips into a fashion-film montage, infusing emotion and rhythm that stills alone couldn’t convey—proving that a little experimentation can deepen an editorial into a fully immersive story.
One of the biggest lessons I learned from this shoot was how to navigate mixed lighting outdoors.
Working with Mixed Lighting: Challenges & Creative Solutions
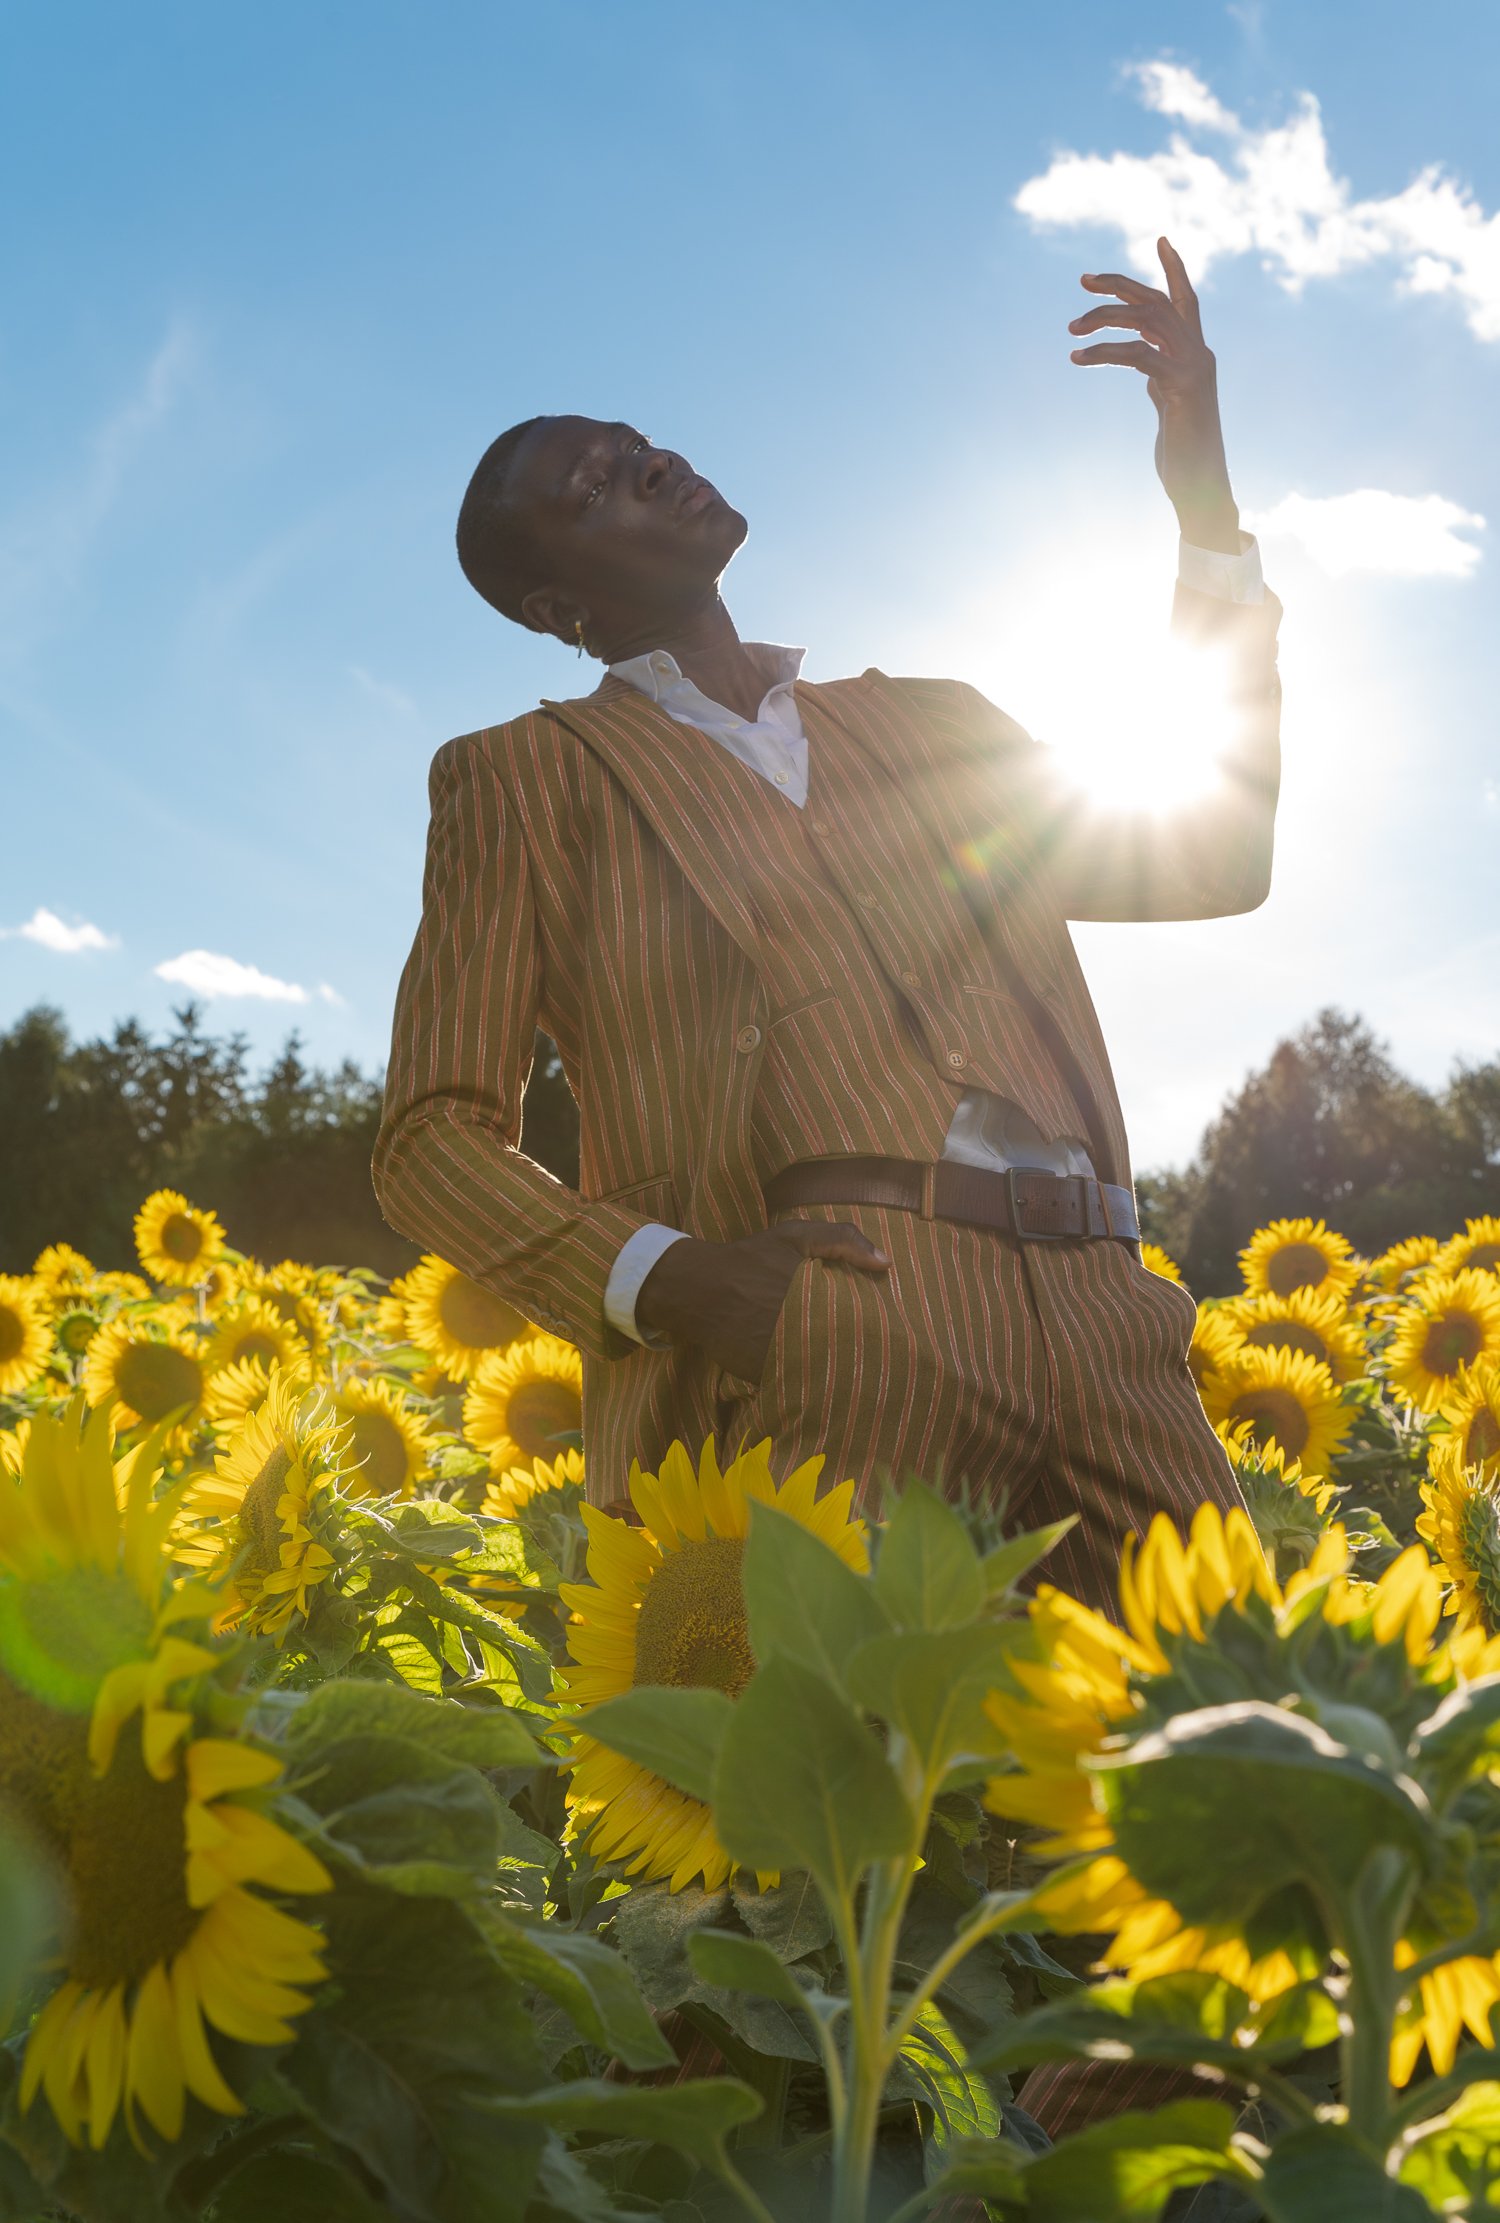
Shooting outdoors on a bright summer day often means grappling with mixed lighting—and this session with Dami was no exception. His rich, deep complexion deserved full illumination, yet exposing for his skin under the harsh sunlight risked blowing out the sky and background. Conversely, underexposing to save the highlights would leave his features flattened in shadow. To strike the right balance, I combined technical precision with creative flexibility.
Here’s how I navigated these contrasting conditions—and how you can too.
Bring in Off-Camera Flash to Bridge the Gap
Harsh midday sun can create an extreme dynamic range between your subject and the sky. By positioning an off-camera flash—ideally fitted with a softbox or shoot-through umbrella—you can gently fill in shadows on your subjects face and body without overblowing the background. This approach lets you:
Nail exposure for rich skin tones
Preserve cloud and sky detail
Achieve that crisp, high-end look even in full sun
Pro tip: Soften your flash output with diffusion to keep close-up portraits flattering and free of hard specular highlights.


2. Meter for the Skin First
When your subject has deeper skin tones, the camera’s auto-meter can be misleading in bright conditions. Take manual control: spot-meter on the cheek or forehead, check your histogram, and review test frames. It’s far easier to recover a bright sky in post than to rescue underexposed skin.
Pro tip: Develop a habit of dialing in exposure so your subject sits just below clipping on the highlights—then tweak the background later.

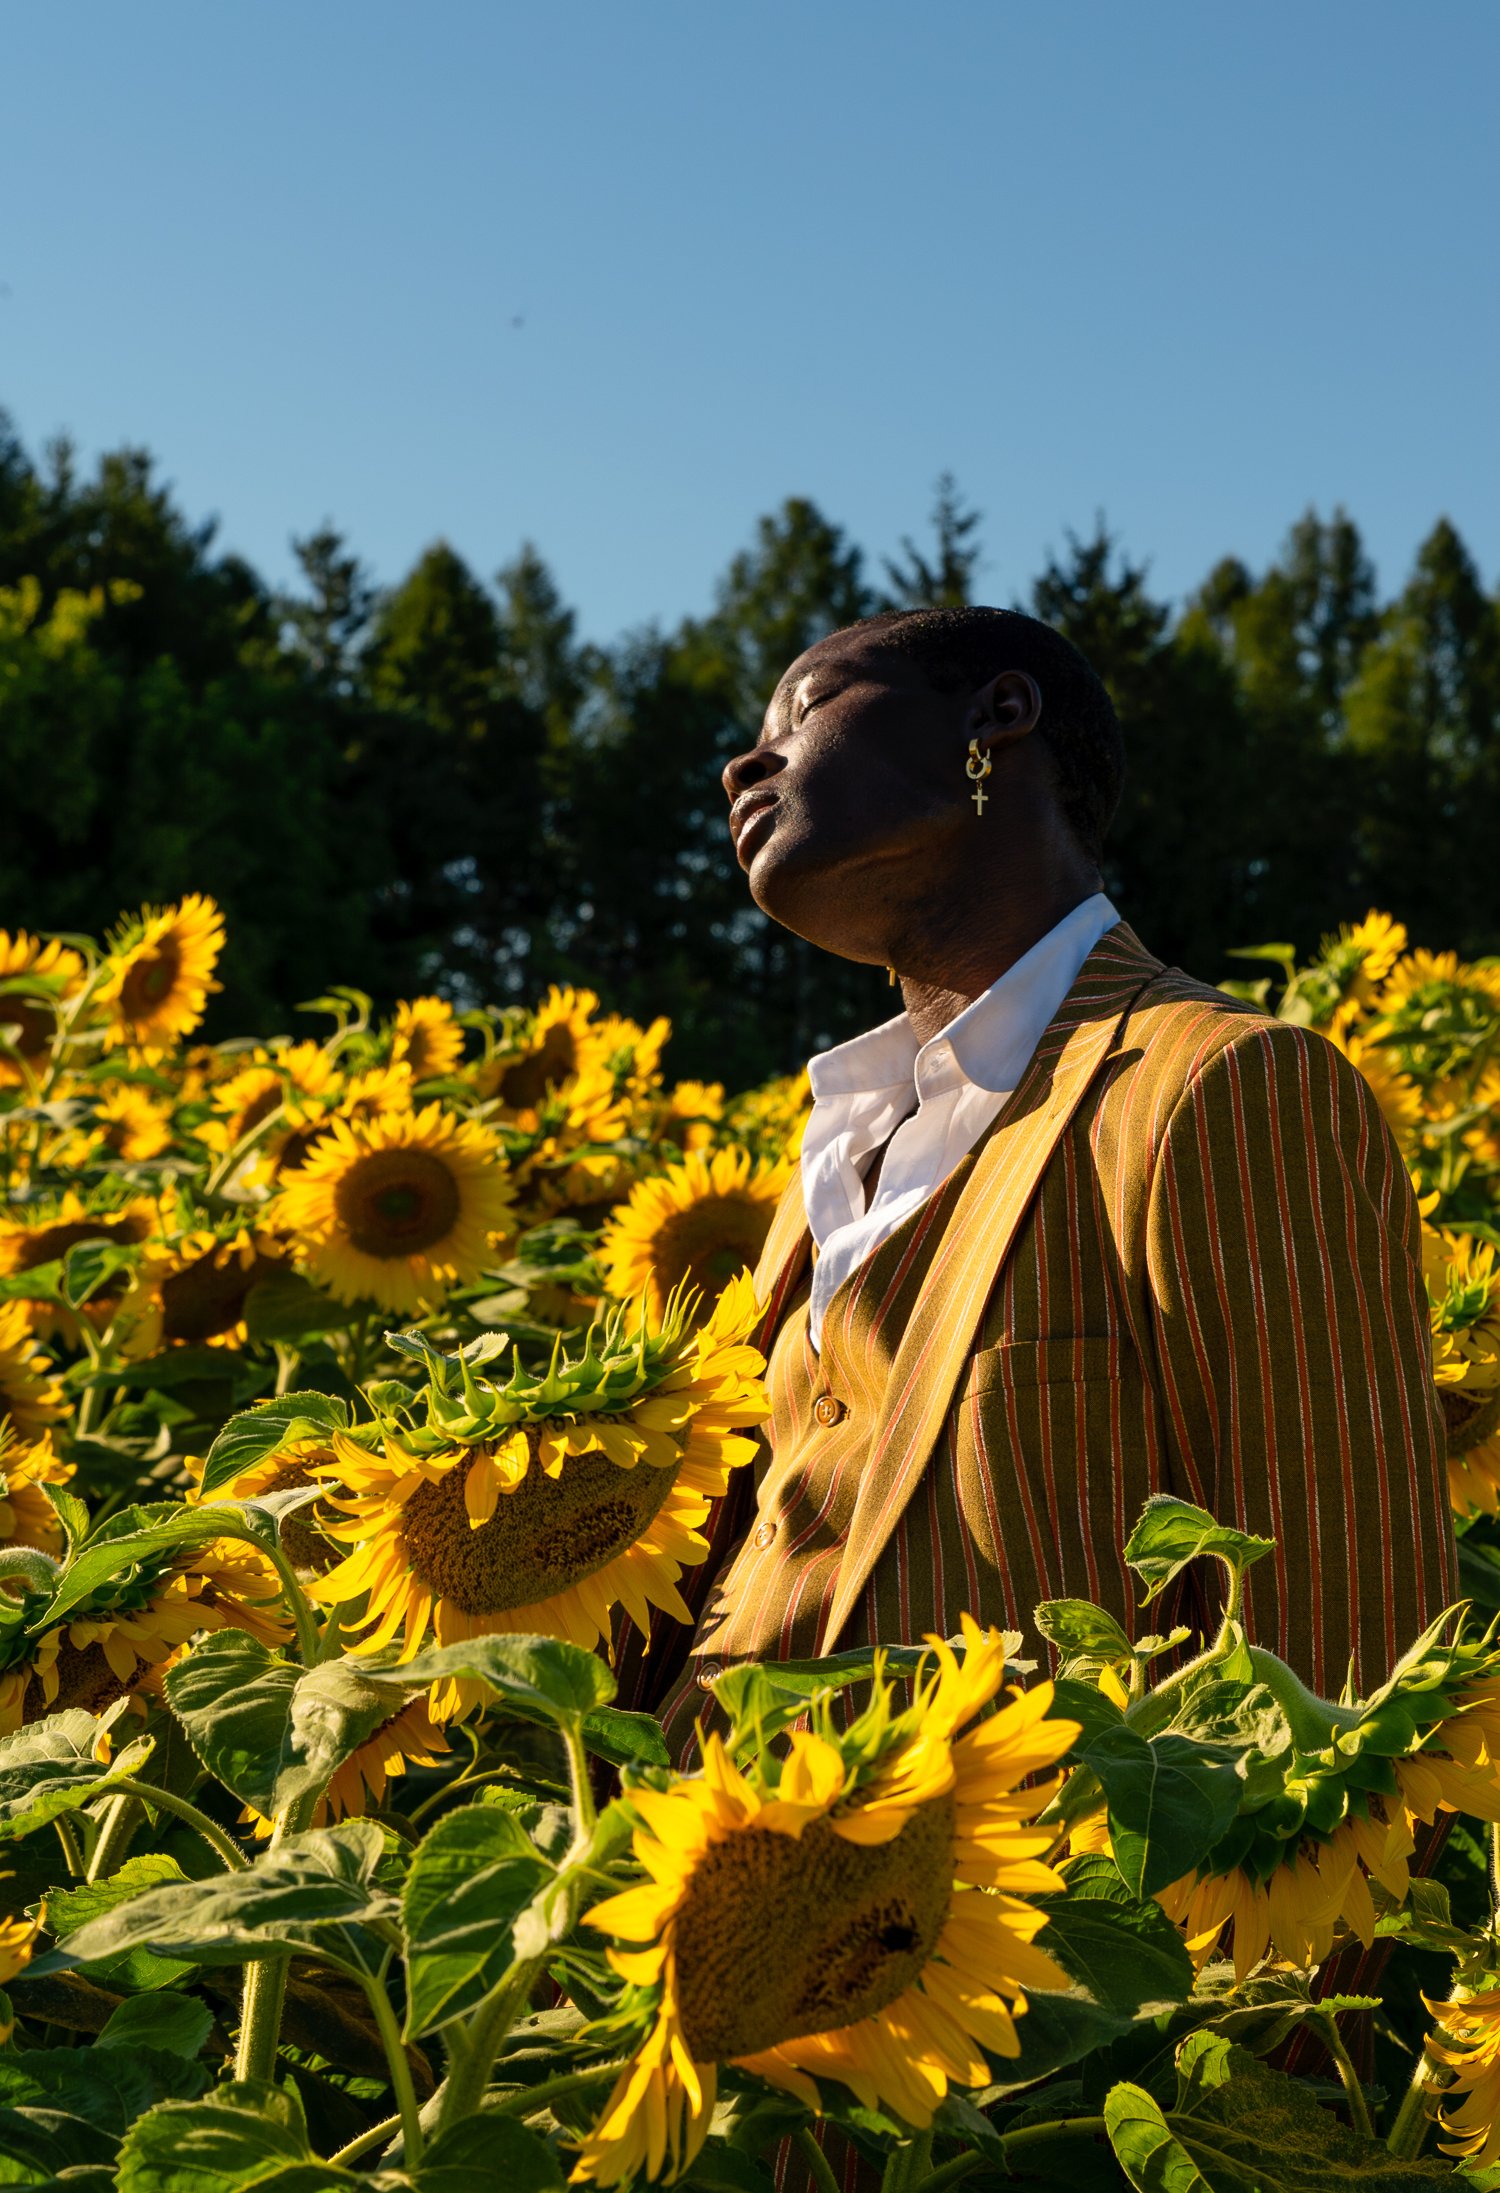
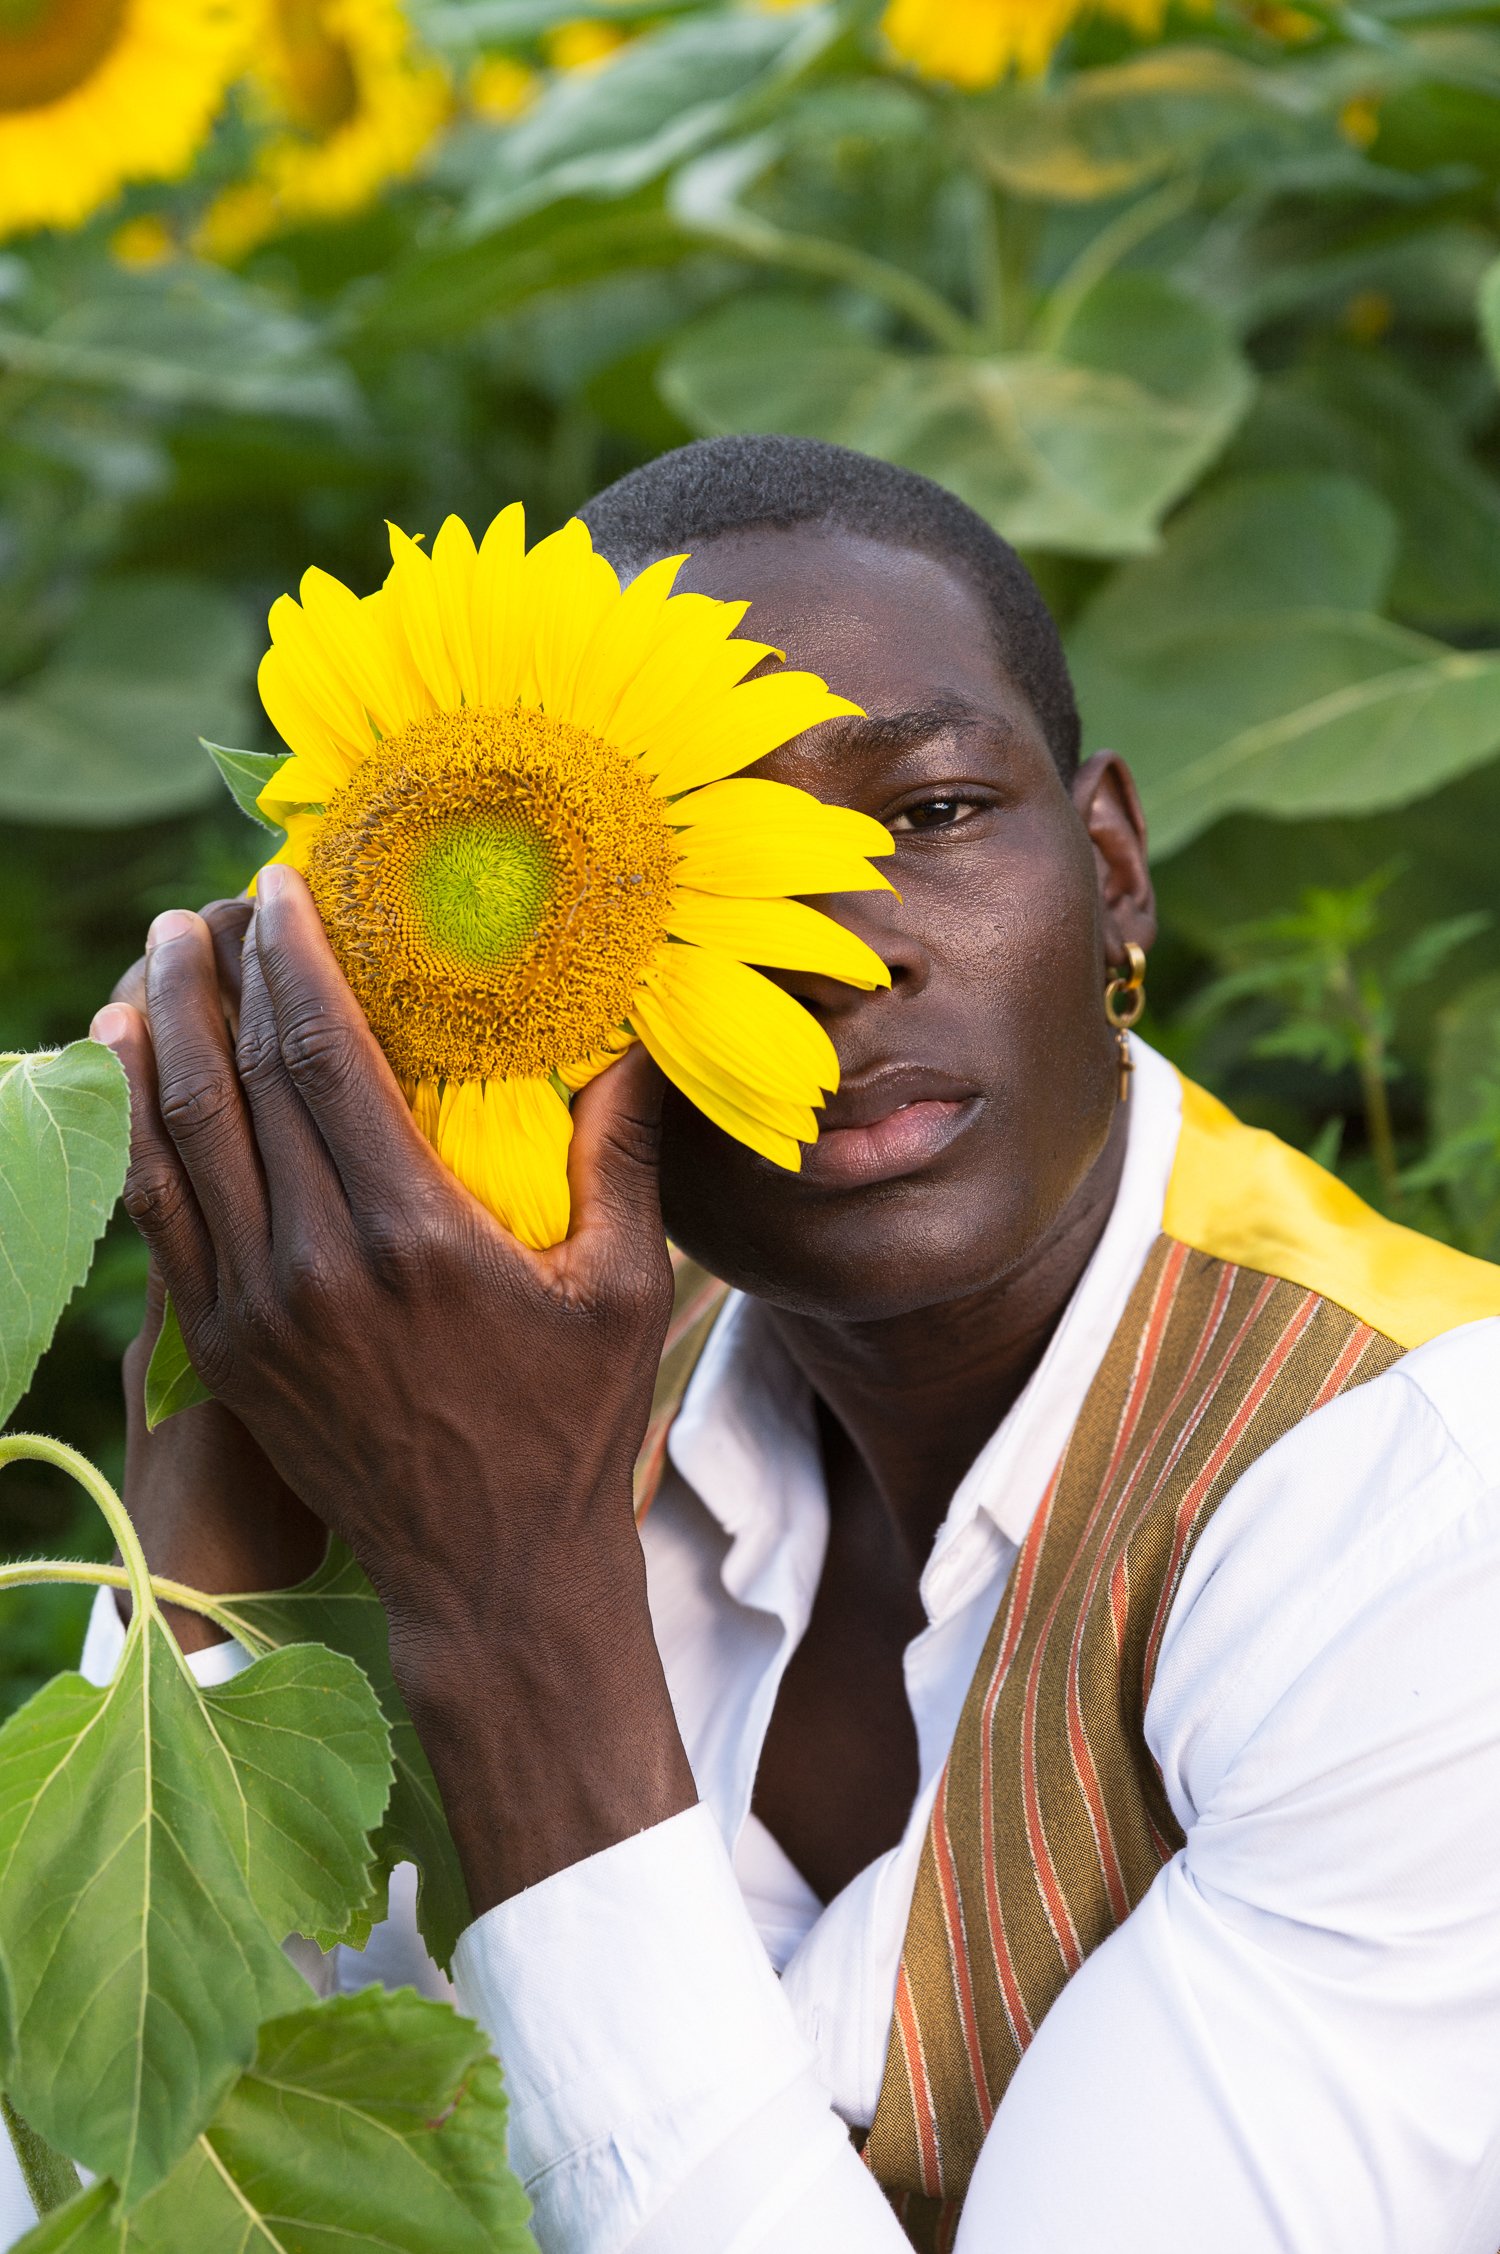
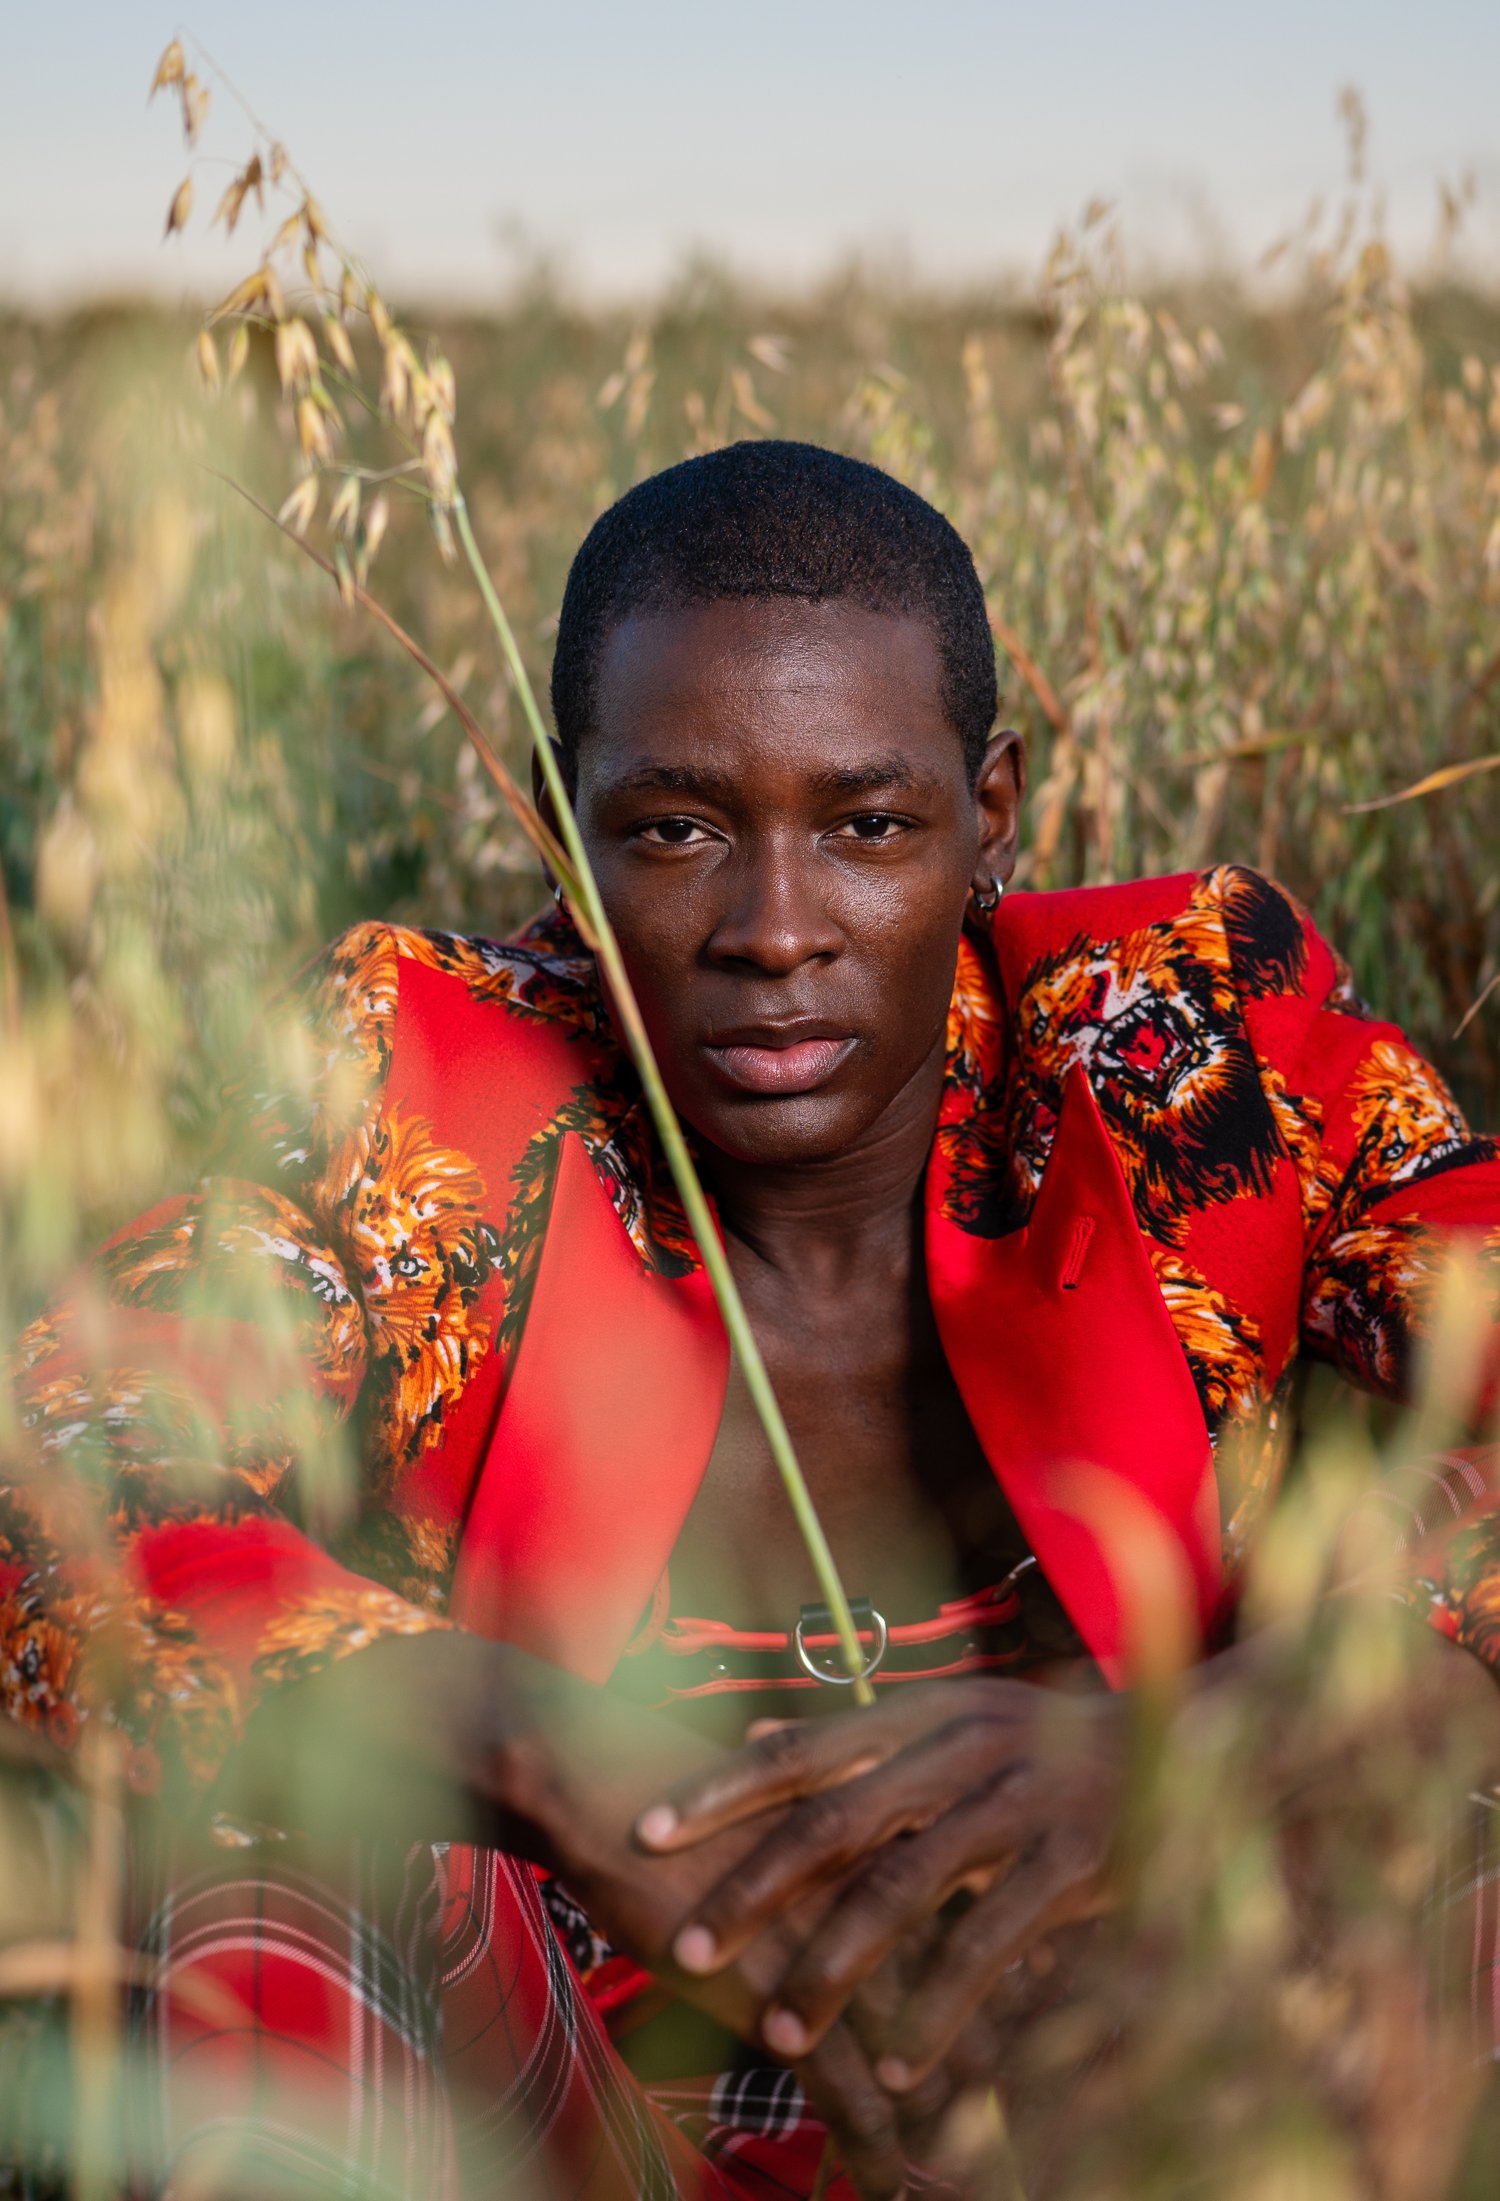
3. Lean into Golden Hour’s Ambient Glow
As the sun dips, the light softens and warms, creating an ideal environment for natural-light portraits. At this point, switch off your flash and let the evening sun sculpt your subject with gentle, directional rays. The result is softer shadows, richer tones, and an intimate, cinematic quality that makes skin glow.
Pro tip: Schedule your session so your last looks coincide with the golden hour—your final frames will carry a magical warmth you can’t replicate with artificial light.
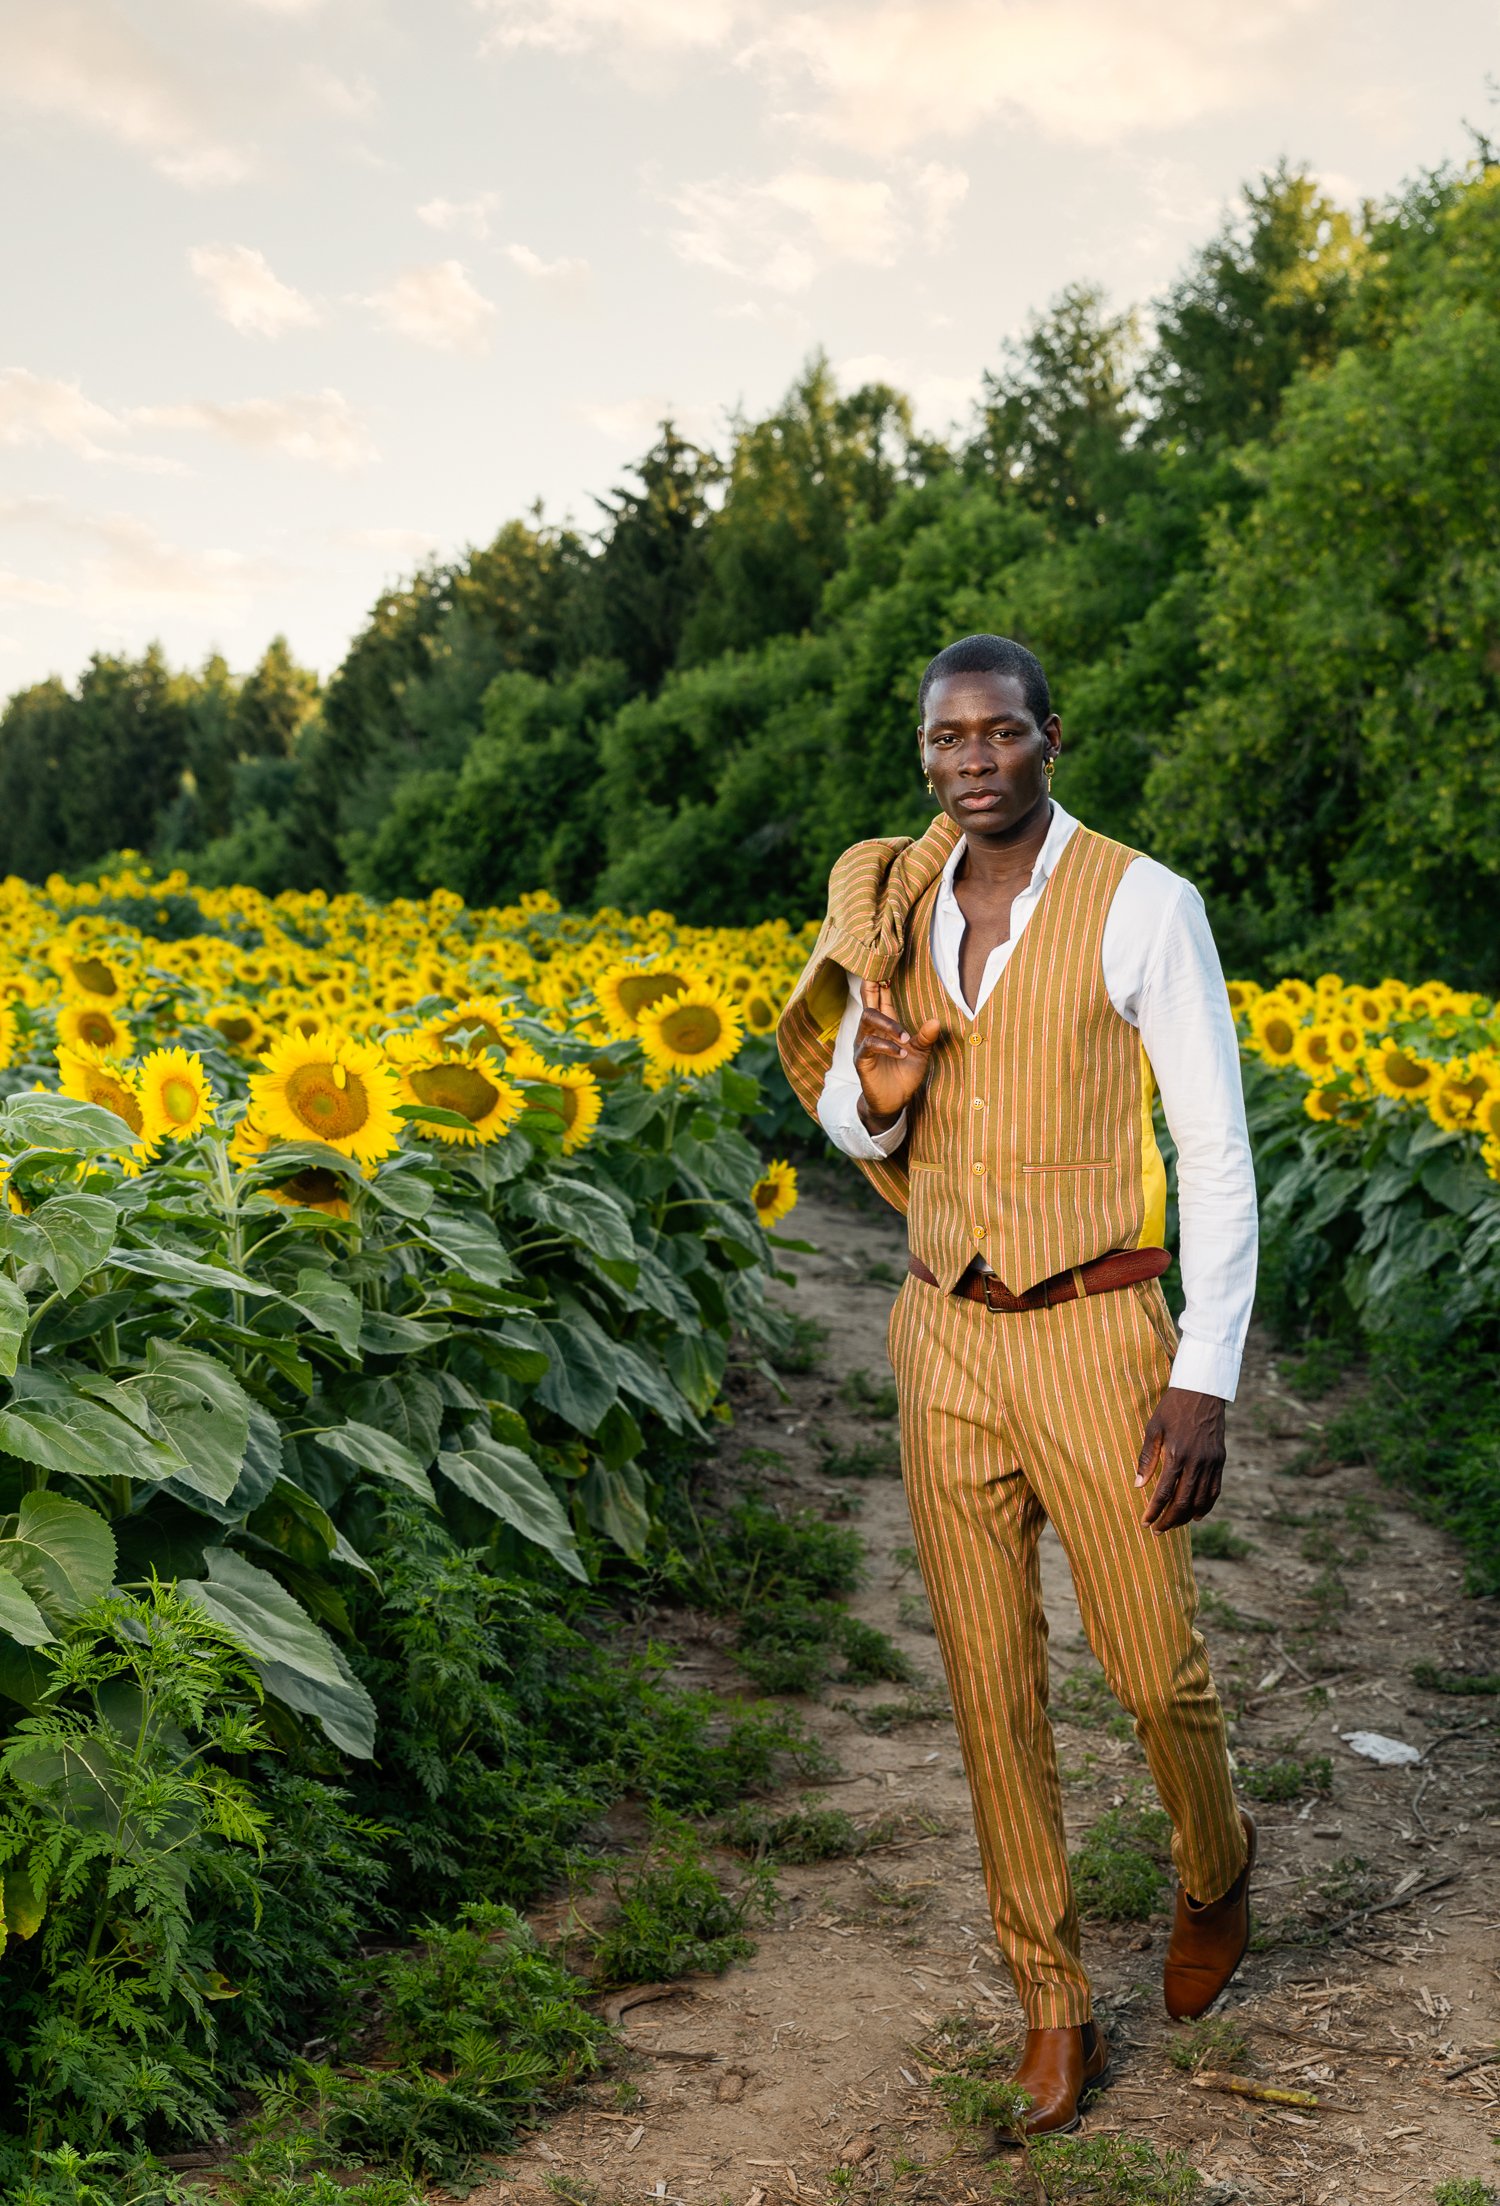
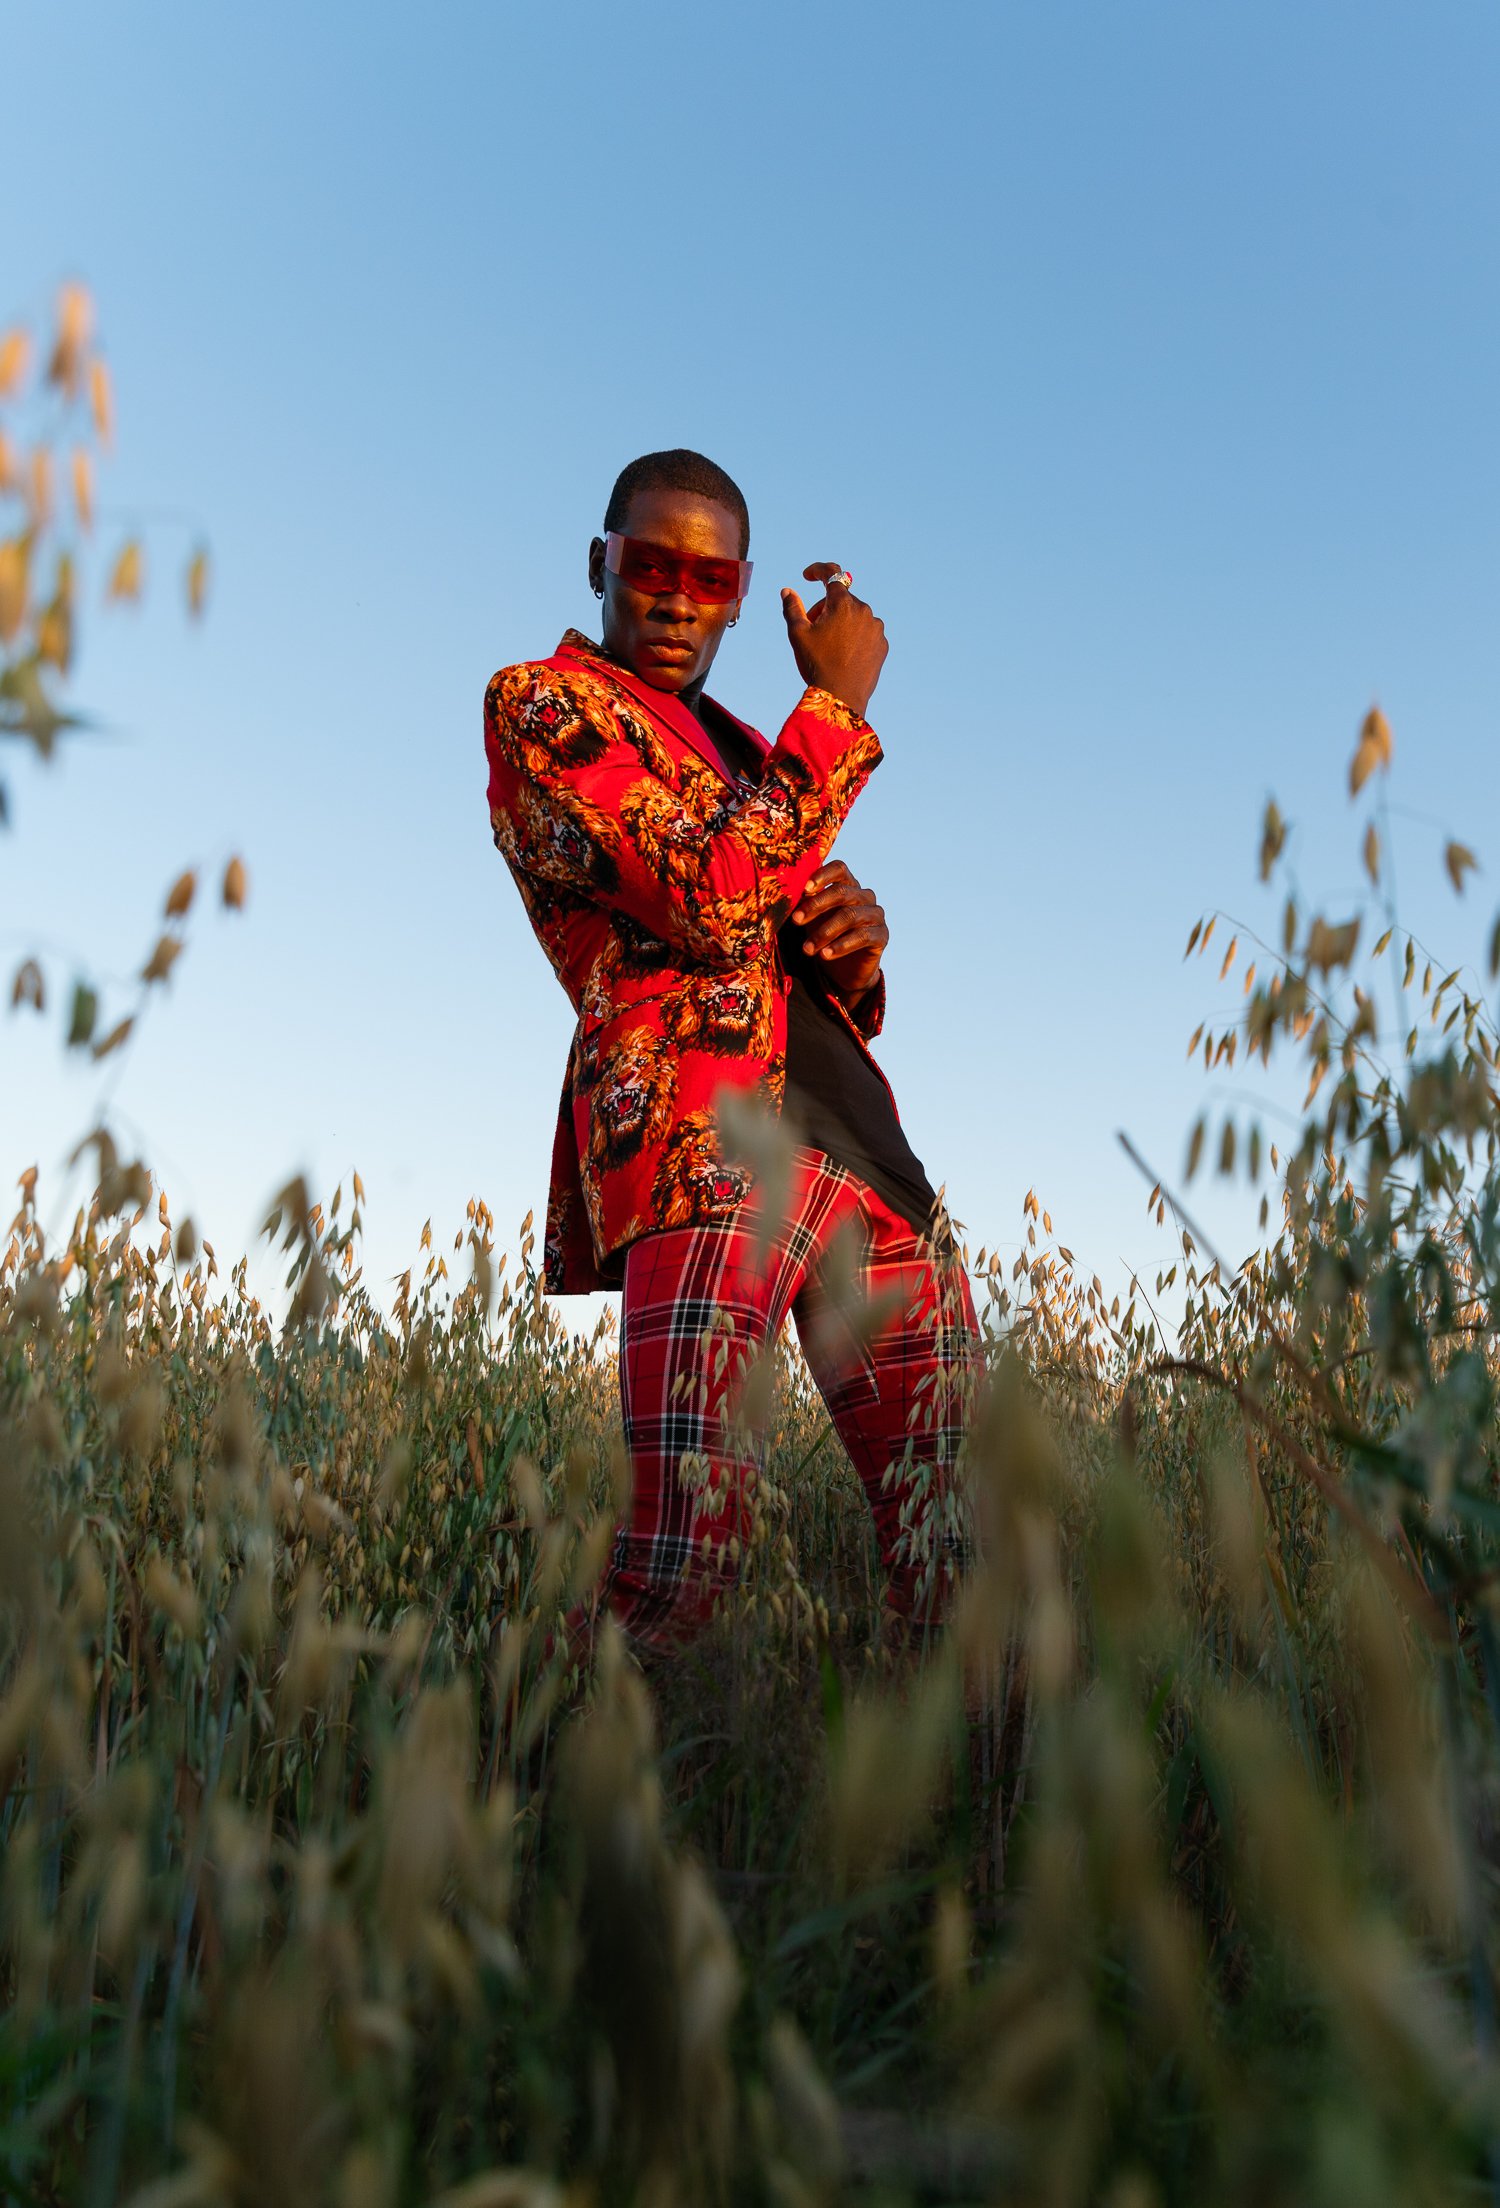
4. Match Lighting Style to Your Vision
Different lighting setups evoke different moods. In my session:
Flash-lit frames felt sharp, structured, and editorial.
Golden-hour captures carried softness, emotion, and depth.
Alternating between these approaches—without moving locations—gave the final edit both polish and variety.
Pro tip: Create a shot list that calls for both high-contrast and soft-light looks. That built-in diversity makes your portfolio more dynamic.

5. Review, Refine, and Adapt
Mixed lighting is constantly in flux, so stay nimble. Between each outfit and set-up, take a moment to examine your images, tweak your light positions, adjust power settings, and shift your angles. The more you iterate on the fly, the better you’ll stay ahead of shifting conditions.
Pro tip: Carry a notepad or use your phone to jot down successful settings. You’ll thank yourself next time you face similar lighting challenges.


