Tips for Photographing Lipstick: What I’ve Learned 💄
Photographing lipstick can be deceptively tricky. It looks simple on the surface—but when you get close, every tiny imperfection shows: smudges, dust, uneven surfaces, reflections. Over the years, I’ve learned a lot through trial and error about how to photograph lipsticks cleanly, beautifully, and in a way that showcases their colour, texture, and luxury feel.
Here’s a breakdown of the key tips I keep in mind for every lipstick shoot:
Tip 1: Handle Products Carefully
Lipsticks are delicate.
The moment you remove them from their packaging, they’re prone to:
• Smudges
• Scratches
• Dust settling on the surface
To avoid unnecessary touch-ups later, I always:
• Work in a clean environment
• Wear gloves when handling products
• Sometimes even use tweezers to reposition items without touching them directly
It saves so much editing time later.
Tip 2: Master Your Lighting
Lighting can make or break lipstick photos.
Because the surfaces are often creamy, glossy, or reflective, you want light that’s:
Soft
Diffused
Even across the surface
I typically use a large softbox or a scrim to create a soft wrap-around light that minimizes harsh reflections, while still allowing a few subtle highlights to bring out the product’s texture and finish.
Tip: Position your lights carefully—moving even slightly can change how the reflection behaves on the lipstick.
Tip 3: Keep the Composition and Background Clean
Lipsticks are often the star of the frame—so backgrounds should support, not distract.
I usually keep it simple:
White, black, or light neutral backgrounds
Sometimes complementary colors depending on the lipstick tone
Minimal props if any (and if used, they’re carefully chosen textures like silk or soft fabric to add elegance without overpowering)
Tip 4: Prioritize Sharpness and Detail
Every tiny imperfection will show—especially in macro or close-up shots.
To make sure the lipstick looks crisp:
I always use a tripod to stabilize the camera
I shoot around f/8 to f/16 to maximize depth of field without losing softness
I prefer manual focus, using live view and zooming in to nail critical sharpness right where it matters most
You want the edges clean, the branding clear, and the product looking flawless.
Tip 5: Nail Post-Processing
Even with perfect handling, some dust, smudges, or slight surface imperfections are inevitable.
In post-production, I typically:
Clean up dust using the healing brush or clone tool
Fine-tune exposure and contrast for balanced lighting
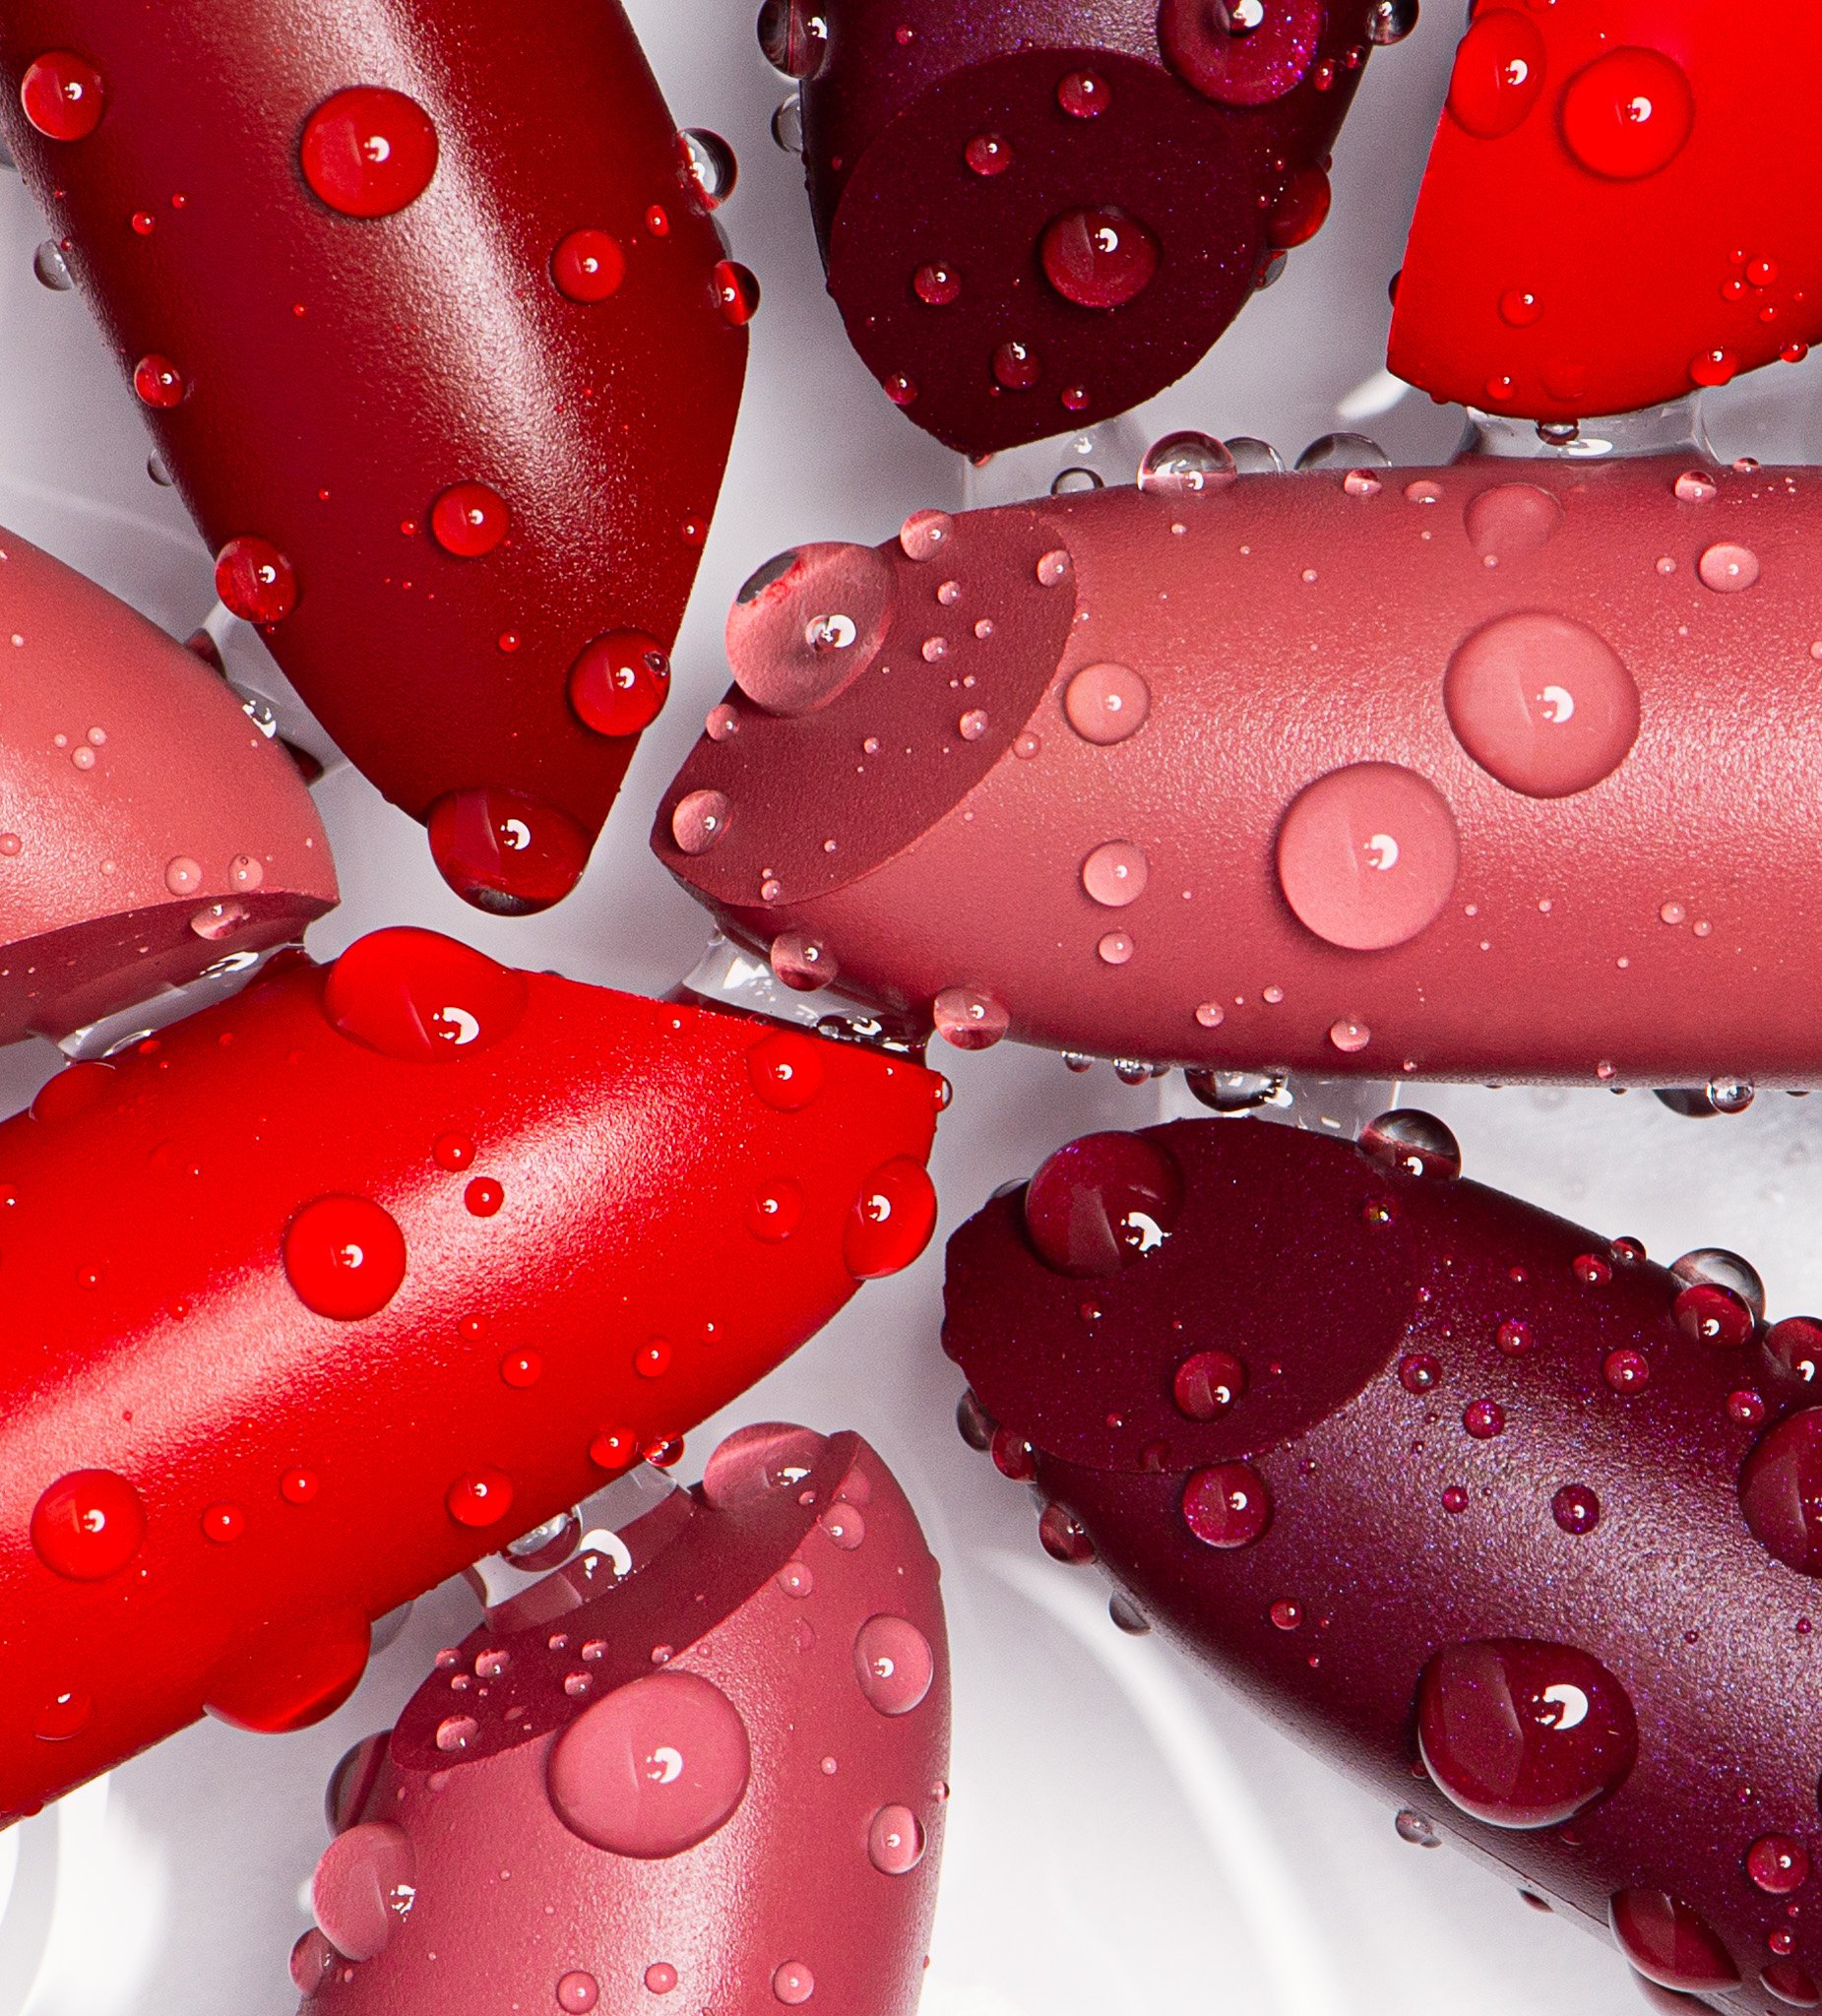
Carefully enhance colors to ensure the lipstick appears true to life (especially reds, which can shift easily under different lighting!)
Use frequency separation techniques if needed to fix surface texture without making the lipstick look fake or plastic
Subtlety is key—you want the lipstick to look luxurious, real, and tactile.
Tip 6: Plan Ahead
Before the shoot, I usually:
Create a moodboard to align the creative direction
Make a shot list so I’m not scrambling once lights and cameras are set
Have backup products ready—because accidents (like lipstick breaking or smudging) will happen eventually!
Final Thoughts
Lipstick photography is definitely about the technical side—good lighting, sharpness, clean handling—but it’s also about creating a mood. When done right, lipstick photos should feel luxurious, aspirational, and true to the product.
I love the challenge of making something so small look larger than life—and every shoot is a reminder that the smallest details make the biggest difference.
Photographer & Retoucher: Tasha Brown